Showing posts with label HTML. Show all posts

April 27, 2020

Tutorial on How to Change the Font Type on Blogger / Website using CSS


Tutorial on How to Change the Font Type on Blogger / Website using CSS

how to Change font type on Blogger.com with Google Fonts. This is step by step change font using CSS. It's easy!

Table of Contents

1. How to change fonts on the website
2. How to Change the Font Type on Blogspot


How to Change the Font Type on Blogger / Website using CSS

The choice of font type is an important factor in developing web design. Fonts that are clear and easy to read, will certainly have a big effect on the blog.
More than 50% of websites on the Internet, use the sans-serif font type which is most obvious to read. Google Fonts becomes one of the free font providers that can be applied on a web page or blog.
Of course, using Google Fonts must follow a few steps in order to be implemented in website design. amp-blogger.com will provide a way to change the Font type on a web page using CSS.

How to change fonts on the website

Here are the steps:
Open https://fonts.google.com/ then choose one type of font that you like. Here I will choose Tools.
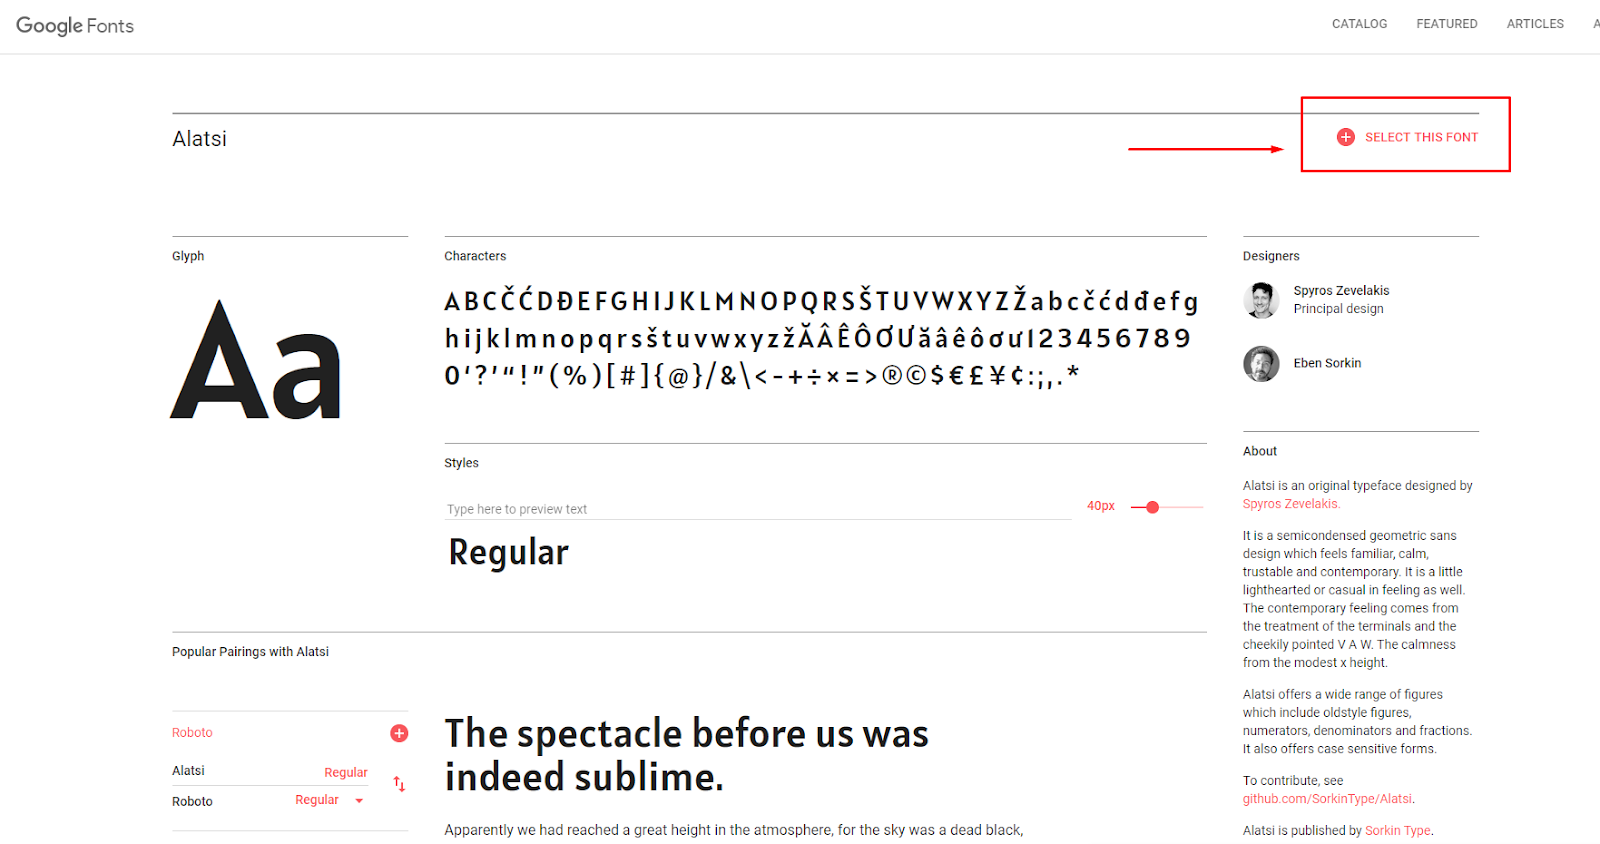
hange the Font Type on Blogger
Click "Select this Font" in the left bar of Google Font. Then copy the <link> code provided.

Paste the code before </head>, see the example below:
<head>
....
<link href="https://fonts.googleapis.com/css?family=Alatsi&display=swap" rel="stylesheet" />
....
</head>
Then we will change all font types currently used, with new fonts.
Back on the Google Fonts page, copy the CSS by following the body tag on the page on your website. Examples like this:
body {font-family: 'Alatsi', sans-serif;}
The code will change all font types on your website pages.
If you only want to change the font on a particular page, then it must be adjusted to the existing div. For example:
#menu {font-family: 'Tool', sans-serif;}
or
#footer {font-family: 'Alatsi', sans-serif;}
Then do the Save to update your website, and see the results.

How to Change the Font Type on Blogspot

To change the font type on Blogger.com, the best way is to use HTML Edit mode.
Click Template on the Blogger.com dashboard, then click Edit HTML.
Search </head> then copy the <link> code provided by Google Fonts. Paste between <head>.
<head>
....
<link href="https://fonts.googleapis.com/css?family=Alatsi&display=swap" rel="stylesheet" />
....
</head>
Search ]]></b:skin> and paste the CSS given to Google Fonts before ]]></b:skin>.
If there is a CSS font-family in the body tag, delete it and replace it with the new code.
Click Save to make changes.
that's a simple way to change the font type on your website. May be useful :)
Create an Automatic Watermark on Blogger Image Articles

Create an Automatic Watermark on Blogger Image Articles


How to Create an Automatic Watermark on Image Articles on Blogger. Automatically image watermark for blogspot domain blog


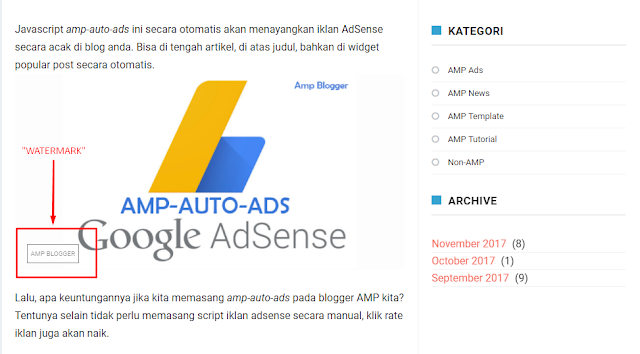
  1. What kind of "watermark" that I mean?
  2. What CSS do I use to create "WATERMARK"?
  3. How to implement it?
  4. Is it done?

Change AMP Blogger Parameter URL from m=1 to amp=1

Change AMP Blogger Parameter URL from m=1 to amp=1


Step by Step: How to Change AMP Blogger Parameter URL from m=1 to amp=1. and All benefits you gets from amp=1


Change Blogger AMP Parameter URL from m=1 to amp=1

The template that I use on this blog is called Alinux AMP, where there are some visitors who are "aware" that the URL for my AMP page is valid using the parameter 'amp = 1, isn't it? M = 1 . 

Then there are some blogger friends who send messages via Facebook, asking how to change the URL parameters for the Blogger AMP page to be ?amp=1I try to explain in this article. 

I have tried changing it using conditional data 'data:blog.url + &quot;?amp=1&quot'but it seems to be ineffective and encounters some errors. Until finally I found out a more effective way. I got this method from one of my blogger acquaintances.

Benefits of AMP Pages in parameters amp=1


Before I explain, I will mention some of the advantages that will be obtained when implementing AMP HTML in the Blogger parameter amp= 1
  • Can apply AdSense Anchor Ad on the mobile page by using AdSense Auto Ads.
  • Can add JavaScript in mobile mode template.
  • AMP pages (amp = 1) will only be accessed if visitors come from AMP viewer such as Google or Twitter. 

Here are the steps to change the custom parameters AMP Blogspot pages, from m=1 to amp=1

Change the AMP special page from m=1 to amp=1

This method can be done by using the Blogger Operator URL data tag with the syntax params 
Go to the menu Edit HTML on Themes. Then follow the steps below

Find this:
<HTML expr:dir='data:blog.languageDirection' lang='id'>

<b:attr cond='data:blog.isMobileRequest == &quot;true&quot;' name='amp' value='amp'/>


or the code below, for those of you who haven't changed the special parameter amp to m=1

<HTML amp='amp' expr:dir='data:blog.languageDirection' lang='id'>


And then replace with below code :
<HTML expr:dir='data:blog.languageDirection' lang='id'>

<b:attr cond='data:view.url == data:view.url params { amp: &quot;1&quot; }' name='amp' value='amp'/>
Pay attention to the yellow code, it is the use Blogger Operator URL to make the new parameter to be amp=1.

Next, we will set the canonical for the main page and the special page for AMP HTML.

Find below code:
<b:if cond='data:blog.isMobileRequest == &quot;false&quot;'>
<link expr:href='data:blog.url' rel='canonical'/>
<link expr:href='data:blog.url + &quot;?m=1&quot;' rel='amphtml'/>
</b:if>

<b:if cond='data:blog.isMobileRequest == &quot;true&quot;'>
<link expr:href='data:blog.url' rel='canonical'/>
</b:if>

Or if it's not found, just look for the canonical section like this:

<link expr:href='data:blog.url' rel='canonical'/>

Delete the code, and replace it with what I made below:
<b:if cond='data:view.url != data:view.url params { amp: &quot;1&quot; }'>
<link expr:href='data:blog.canonicalUrl' rel='canonical'/>
<link expr:href='data:blog.canonicalUrl + &quot;?amp=1&quot;' rel='amphtml'/>
  </b:if>
<b:if cond='data:view.url == data:view.url params { amp: &quot;1&quot; }'>
<link expr:href='data:blog.canonicalUrl' rel='canonical'/>
  </b:if>

Up here, the actual process is complete. But if you previously used the parameter m=1 for special pages of AMP HTML, you must follow the steps below because usually there will be a slight error.

Final Process

Look for all blogger tag code for mobile m=1 as below:

<b:if cond='data:blog.isMobileRequest == &quot;true&quot;'>
Change with below data tag:
<b:if cond='data:view.url == data:view.url params { amp: &quot;1&quot; }'>

Find this:
<b:if cond='data:blog.isMobileRequest == &quot;false&quot;'>

and change with:
<b:if cond='data:view.url != data:view.url params { amp: &quot;1&quot; }'>

Showing Element on AMP Pages only

To display all elements or widgets only on the AMP HTML page, then you only need to wrap them with the new AMP  tag conditional. Example:
<b:if cond='data:view.url == data:view.url params { amp: &quot;1&quot; }'>

   <!-- Contents -->

</b:if>
If you want to display elements in other than AMP pages, use this conditional tag:
<b:if cond='data:view.url != data:view.url params { amp: &quot;1&quot; }'>

   <!-- Contents -->

</b:if>

That's the article about the trick for Changing Blogger AMP Parameters from m=1 to amp=1. You still have to achieve the performance of your special AMP page in the Search Console.